Bruce Schneider, the “Paint Doctor” for Purdy, tackles some of the most common painting problems homeowners encounter.
By Marie Proeller Hueston
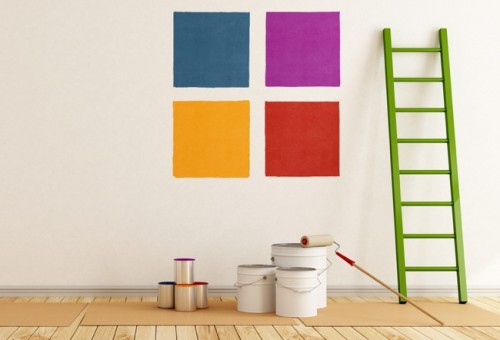
In his role as the “Paint Doctor” for Purdy — longtime makers of handcrafted paint brushes and roller covers — Bruce Schneider fields queries from intrepid do-it-yourselfers on a regular basis. Who better to ask about the most common problems that homeowners encounter in their interior painting projects?
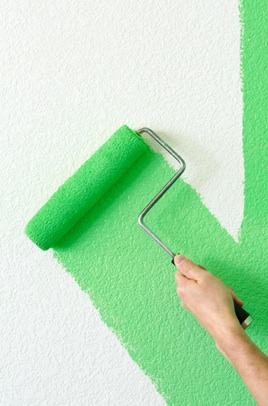
No. 1: Choosing inferior applicators
Solution: “To get the job done right, you need good quality tools,” Schneider says. “It always boggles my mind that people are willing to spend $40 or $50 on a gallon of premium paint but decide to go cheap on the applicators. Later, when they see a hair on the wall or lumps of roller lint under the paint, they’ll realize the mistake. Investing in good brushes or rollers up front is worth the extra expense.”
No. 2: Improper preparation
Solution: “It may seem obvious, but you always want to do repair work first so that your walls are smooth, clean, dry and free of loose debris before you begin painting,” Schneider advises.
No. 3: Overextending each dip of the brush or roller
Solution: DIYers often continue applying a dip of paint until the brush or roller becomes dry. The problem? “When you overextend each dip, the paint can dry in the brush bristles, and the fabric on rollers can mat down,” he cautions. “Be sure to always maintain a smooth line of paint. Once the paint appears to break up, it’s time to re-dip.”
No. 4: Breathing the wrong way
Solution: The way you breathe when painting — especially when cutting in near edges — can affect the steadiness of your hand. “When you need to be precise, hold your breath or breathe out,” Schneider suggests. “Your body moves more when you’re breathing in.”
No. 5: Letting touch-up paint dry out
Solution: To extend the life of your leftover paint, try these tricks. “For water-based paint, place a piece of clear plastic wrap directly on the surface of the paint, then reseal the container,” Schneider offers. “For oil-based paint, add about a half-inch of water on the surface before resealing.”
Related:
- 10 Unexpected Uses for Spray Paint
- Winning Combinations: 9 ‘Can’t Miss’ Color Schemes
- What’s the Best Color for Living Rooms? Experts Weigh in
Bob Vila is the home improvement expert widely known as host of TV’s This Old House, Bob Vila’s Home Again, and Bob Vila. Today, Bob continues his mission to help people upgrade their homes and improve their lives with advice online at BobVila.com. His video-rich site offers a full range of fresh, authoritative content – practical tips, inspirational ideas, and more than 1,000 videos from Bob Vila television.
Note: The views and opinions expressed in this article are those of the author and do not necessarily reflect the opinion or position of Zillow.